
Unlock the power of your own compost!
Transform your UK garden into a thriving ecosystem with the ultimate family project: building the perfect compost pile! Upcycling kitchen scraps and garden waste into nutrient-rich “black gold” is a fantastic, hands-on way to teach children about nature, recycling, and science.
Kids love sorting the “greens” (vegetable peelings) from the “browns” (autumn leaves and cardboard), creating a healthy, balanced heap. Complete your setup with a dedicated breaking-up and sieving station to let little ones help sift out beautifully fine, homemade compost. It’s the perfect weekend garden activity to boost your soil, grow healthier veggies, and nurture a love for the planet!
Key Composting Steps
There are some key steps to perform in the set-up to truly take you composting to a new level.
Laying the Foundation
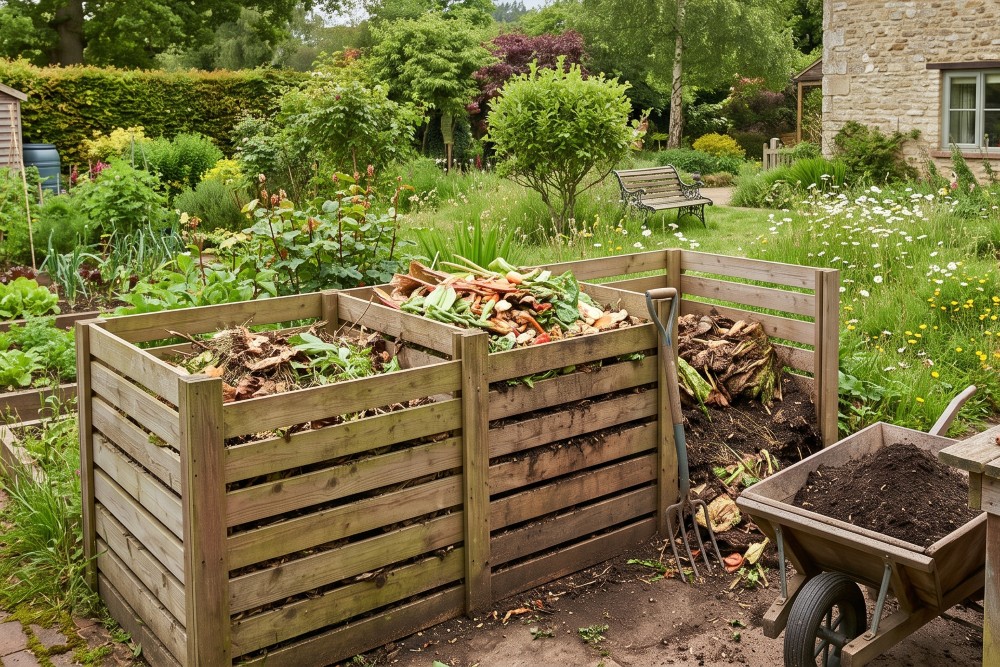
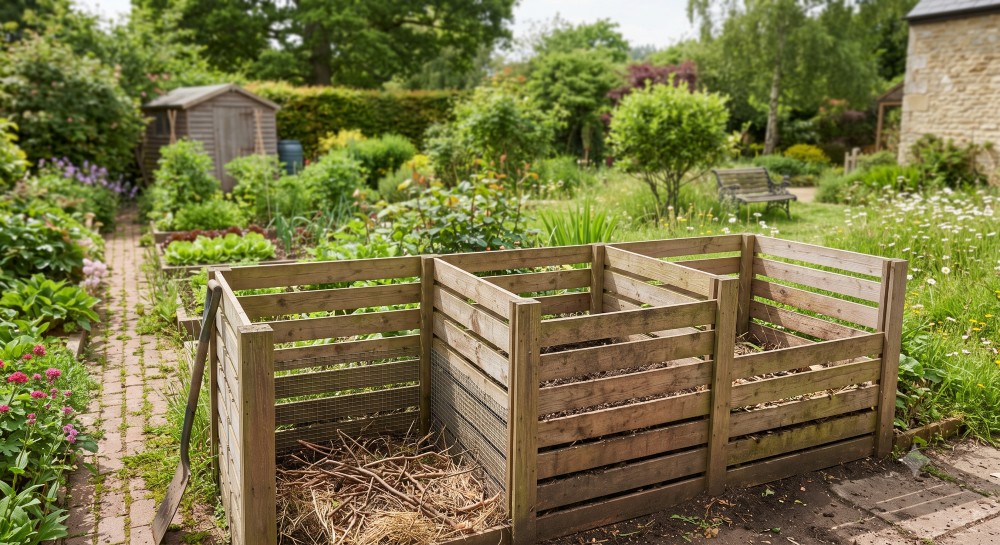
Before you pile up waste, you need structure. The ideal setup, as seen in this first scene, is a well-built three-bay wooden bin system. This is crucial for managing the different stages of decomposition. To begin, place a layer of rough, woody material (twigs, small branches, straw) directly on the earth at the bottom of the first (left) bin. This ensures essential aeration and drainage right from the start.
Tip: Position your bins on soil or grass to allow helpful microbes and worms easy access to your pile.
The Perfect Mix
The secret to fast, odorless compost is getting the ratio right. You need an even mix of Nitrogen-rich “Greens” and Carbon-rich “Browns.” As shown here in the active central bin, we are carefully layering fresh food waste (like those bright orange peels) and soft garden clippings (Greens) with drier, brown material like dry leaves and ripped cardboard (Browns). We recommend roughly equal parts by volume. Use that pitchfork to lightly mix the layers as you go, but do not compact it.
Browns (Carbon): Dry leaves, straw, shredded paper/cardboard.
Greens (Nitrogen): Kitchen scraps, fresh grass, coffee grounds.
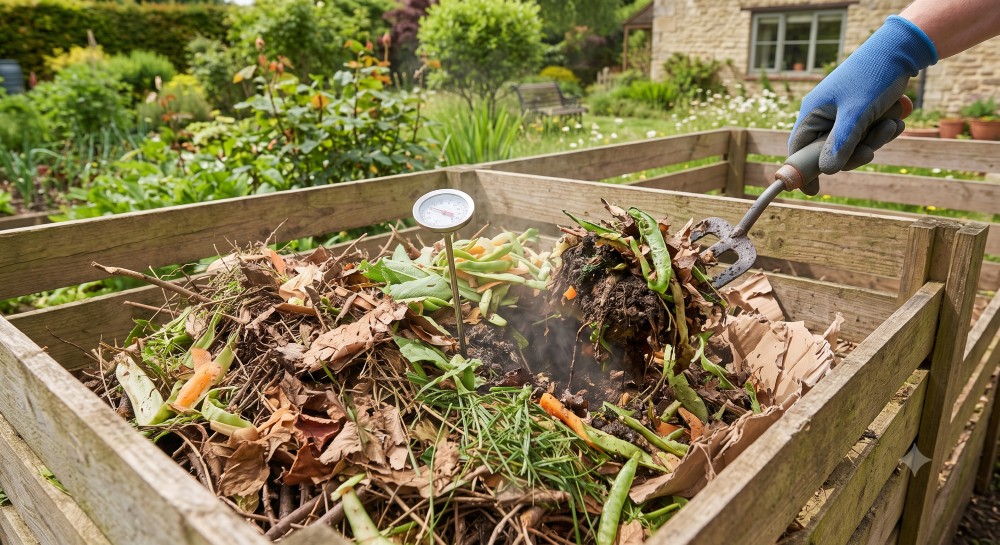
Heat and Hydration Check
Once your bay is full, the microscopic work begins. Over the next few weeks, microbial activity will generate significant heat. A hot pile means the materials are breaking down quickly. This scene captures a vital maintenance step: using a long-stemmed compost thermometer (visible here, showing a reading over 50°C) to check the internal temperature. When the center temperature peaks and starts to drop, it’s time to turn the pile.
Turning (moving the contents of one bin to the next) introduces crucial oxygen. You must also check moisture; the material should feel like a damp, wrung-out sponge.
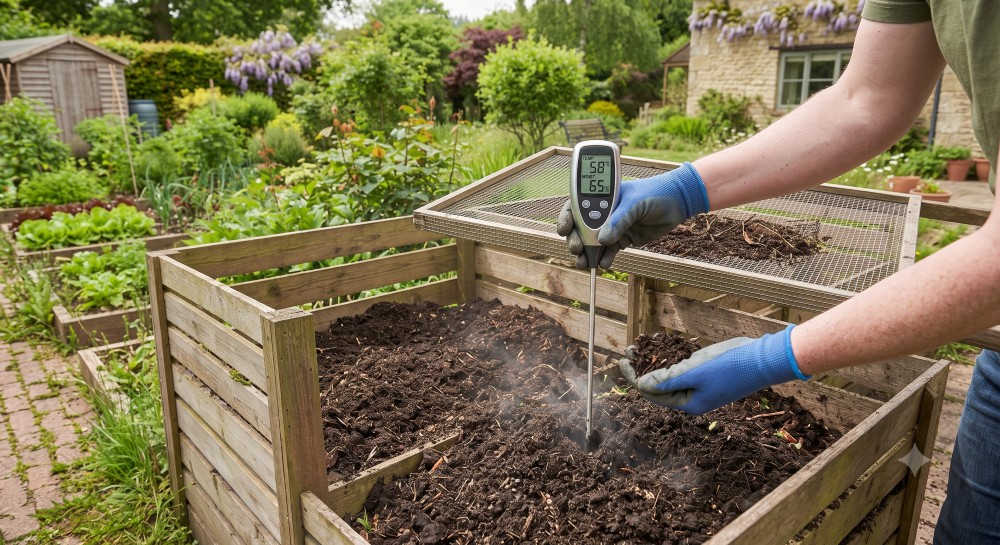
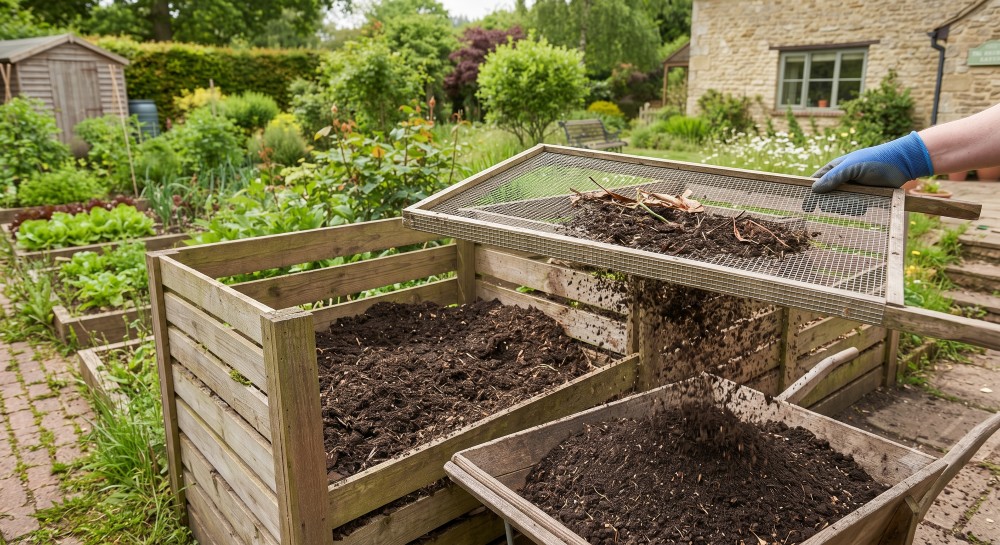
Harvest and Sieve
After several months and regular turning, the material in the final (right) bay will have transformed. It should be dark, crumbly, and smell earthy, like a forest floor. As demonstrated here, your final perfect compost pile is ready to be harvested.
The mature material is dug out and placed onto a sieving screen (as seen resting on the wheelbarrow from image 1). The fine, finished “black gold” falls through into the barrow, while any remaining large twigs or undecomposed pieces are caught and returned to the first bin to start the cycle again. Your perfect compost is now ready to nourish your garden beds!