
Ever wanted to watch your garden when you’re not there?
Have you ever wondered what happens in your garden when you turn off the lights, or which elusive birds visit your feeders while you are at work? Nature is filled with hidden rhythms, nocturnal visitors, and microscopic marvels that happen right under our noses. Traditional commercial trail cameras and weather stations can be expensive, rigid, and surprisingly limited in what they can do.

Enter the Raspberry Pi.
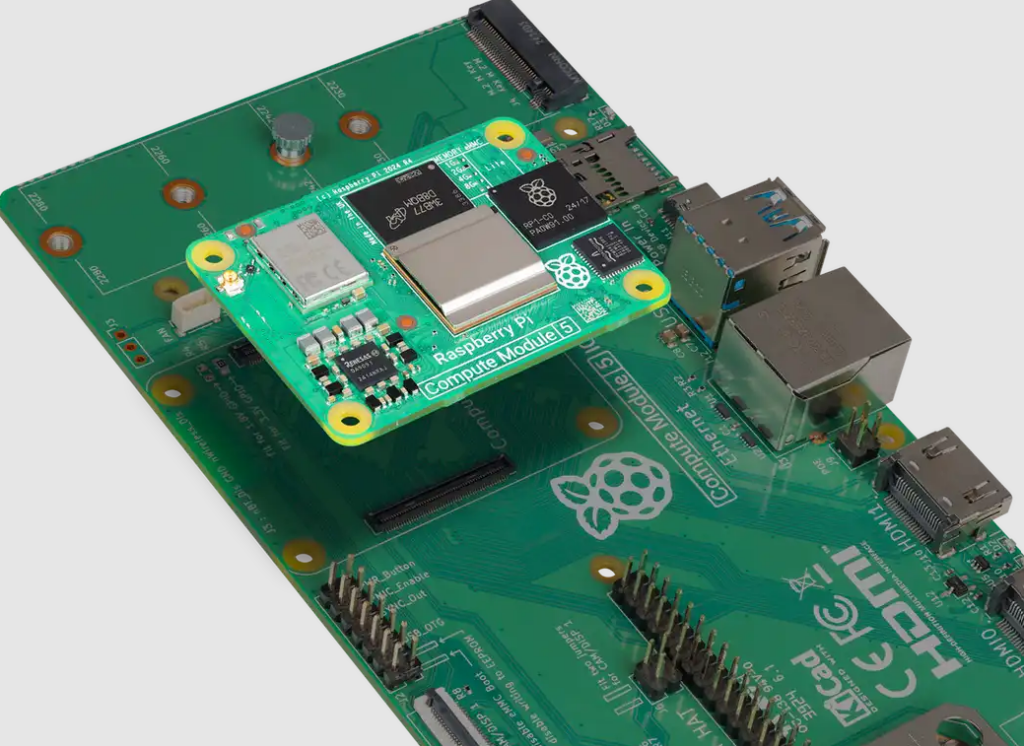
This credit-card-sized computer has revolutionized amateur field biology, citizen science, and backyard conservation. Because it is a fully functional PC with dedicated GPIO (General Purpose Input/Output) pins, you can connect it to specialized cameras, microphones, and environmental sensors to build a bespoke nature laboratory.
Whether you want to deploy artificial intelligence to identify the exact bird species visiting your yard, listen to the ultrasonic clicks of hunting bats, or peer into the murky depths of a garden pond, the Raspberry Pi is your ultimate tool.
This comprehensive guide serves as your roadmap to transforming a standard single-board computer into an advanced, eco-monitoring powerhouse.
10+
Uses and activities
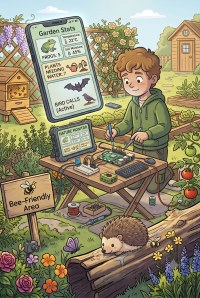
Why Use a Raspberry Pi for Backyard Wildlife Tracking?
Before diving into specific projects, it is essential to understand why the Raspberry Pi is the gold standard for DIY conservationists.

It’s Yours.
Unlike proprietary outdoor cameras, a Raspberry Pi gives you absolute visibility over your data. There are no mandatory monthly cloud subscription fees, no data caps, and no corporate servers tracking your local ecosystem. You own the code, the footage, and the telemetry.

They Last Longer.
Furthermore, the Pi is incredibly energy efficient. Running a Raspberry Pi 4 or 5 continuously uses less power than a standard household LED light bulb, making it uniquely suited for long-term outdoor deployment powered by mains electricity, Power over Ethernet (PoE), or custom solar battery banks.

It’s Simple.
Finally, the open-source community surrounding the Pi means that thousands of developers have already written the complex code for audio identification and machine learning—allowing you to install advanced tracking suites with just a few terminal commands.
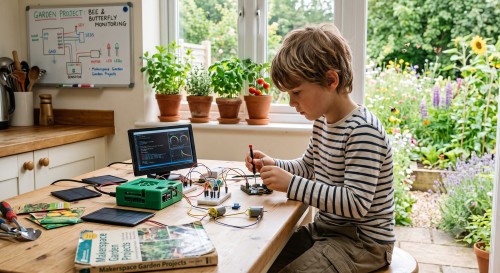
Uses for the Will’s Wild Lab Configured Raspberry Pi
Here are some possible Raspberry Pi project ideas that can be built for as little as £60.00.
Wildlife & Activity Monitoring: Building the Ultimate DIY “Critter Cam”
The foundational project for any Raspberry Pi nature enthusiast is a motion-activated trail camera, affectionately known as the “Critter Cam.” Commercial trail cameras often suffer from slow trigger speeds, low-quality nighttime sensors, or clumsy user interfaces. A DIY Raspberry Pi trail camera solves all of these frustrations.
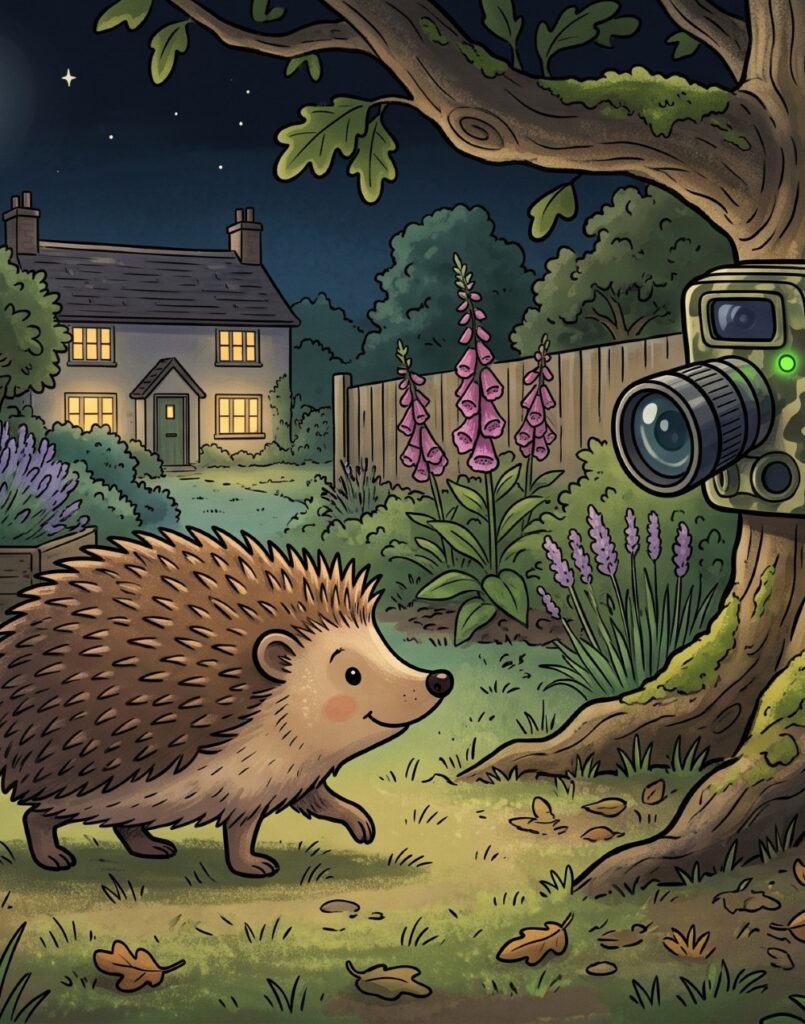
Using a Raspberry Pi Camera Module 3, which features native autofocus and a high-resolution Sony IMX708 sensor, you can capture breathtakingly crisp images of backyard wildlife. For tracking nocturnal animals like foxes, badgers and hedgehogs, you can deploy the NoIR (No Infrared) version of the camera module. When paired with an invisible 850nm or 940nm infrared LED light strip, your Critter Cam will illuminate the midnight garden without startling the animals or drawing unwanted human attention.
To manage the footage, open-source software like MotionEyeOS or the RPi-Cam-Web-Interface transforms your Pi into a smart CCTV hub. These operating systems allow you to define specific motion-detection zones (preventing blowing leaves from triggering false alarms), stream live video to your smartphone, and automatically upload high-definition clips to a local network drive or private cloud storage space.
Automated Bird & Bat Audio Identification: Listening to the Hidden Symphony
Some of the most fascinating wildlife activity in your garden isn’t seen—it is heard. Avian vocalizations and nocturnal mammal echolocations provide a direct window into local biodiversity, if you have the tools to capture them.
Deploying BirdNET Pi for Real-Time Avian Bioacoustics
By connecting a sensitive USB microphone or an outdoor-rated parabolic microphone setup to your Raspberry Pi, you can build a continuous acoustic monitor running BirdNET Pi. Developed in partnership with the Cornell Lab of Ornithology, BirdNET Pi uses a localized artificial intelligence model to analyze ambient audio files.
The software isolates bird songs, cross-references them against an extensive neural network, and identifies the species with startling accuracy in real-time. The system maintains a localized web dashboard displaying a daily diary of visitors, complete with confidence scores, audio playback snippets, and links to Wikipedia pages for each identified bird.
Building a DIY Ultrasonic Bat Detector
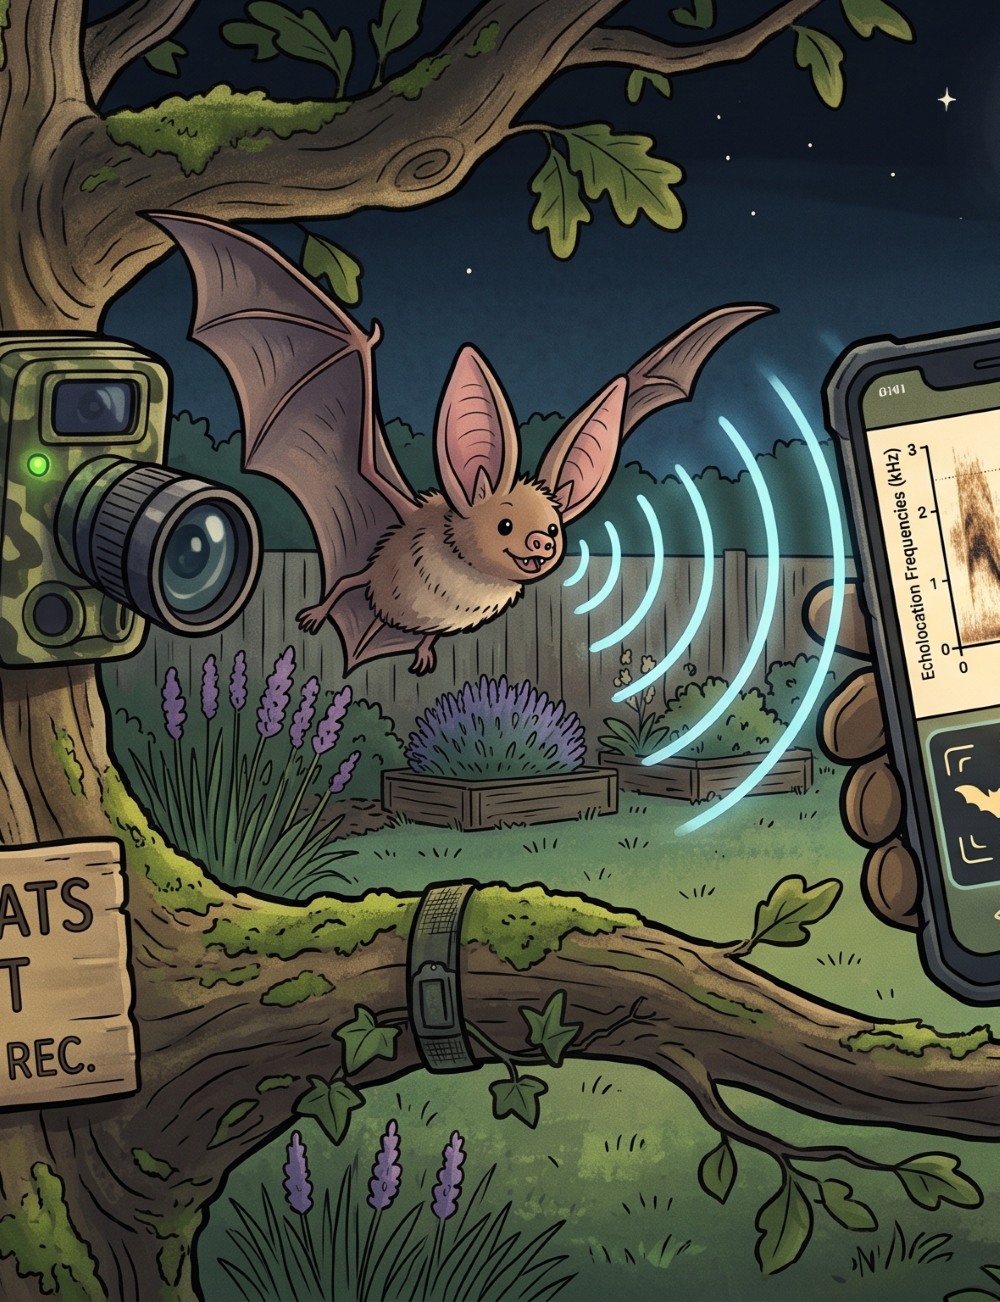
When the sun sets, the acoustic landscape shifts from birds to bats. Because bats utilize ultrasonic frequencies (typically between 20 kHz and 120 kHz) to hunt and navigate, their vocalizations are entirely imperceptible to human ears.
By wiring an ultrasonic microphone (such as a specialized MEMS microphone capsule) to your Raspberry Pi, you can create an autonomous bat detector. Software scripts can automatically pitch-shift these calls down into the human audible range using heterodyne or time-expansion techniques, while logging the specific frequency peaks. This data allows you to identify exactly which bat species—such as Pipistrelles, Big Brown Bats, or Myotis—are patrolling your roofline for insects.
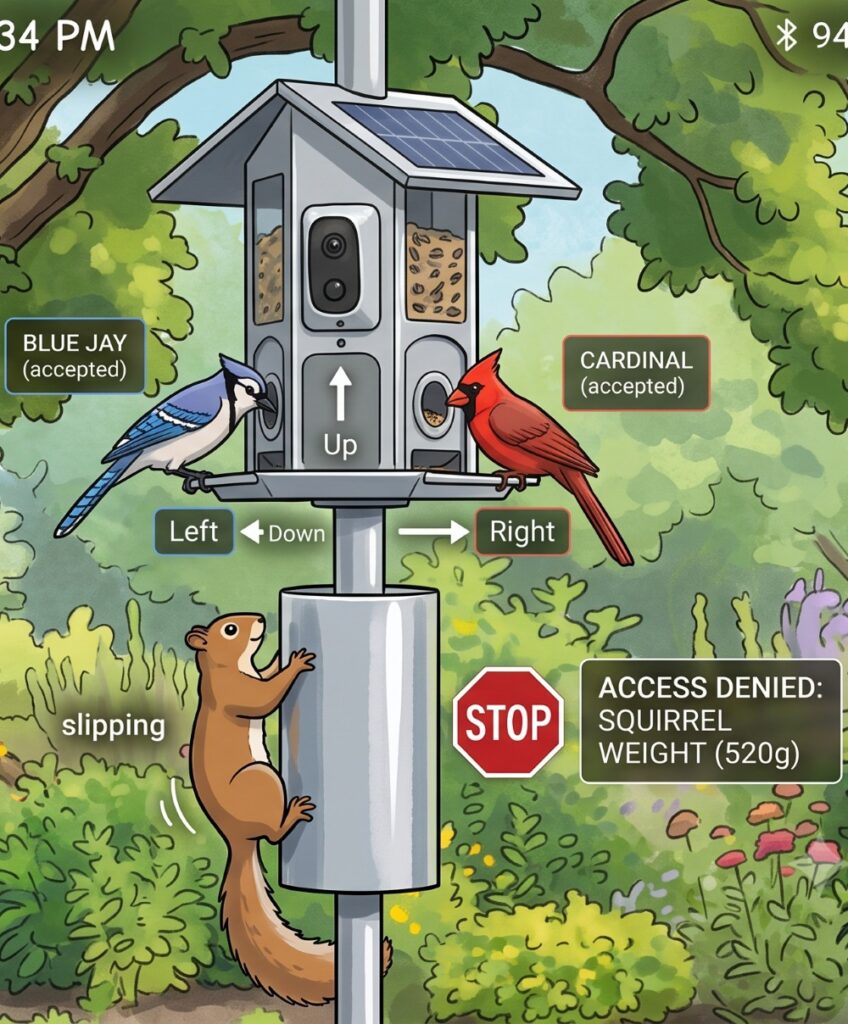
Designing an AI-Powered “Smart” Bird Feeder to Prevent Squirrel Theft
Standard bird feeders are wonderful, but they are plagued by two major issues: you miss most of the action when you aren’t looking out the window, and local squirrels inevitably figure out how to hijack the seed supply. An AI-powered bird feeder elegantly solves both problems simultaneously.
By running a lightweight machine learning object-detection model—such as YOLO (You Only Look Once) or utilizing a Google Coral USB Accelerator—directly on a Raspberry Pi 4 or 5, you can transform a standard wooden feeder into a thinking machine. The camera module watches the perch continuously. When an object enters the frame, the AI processes the image within milliseconds to determine the taxonomic class of the visitor.
If the AI detects a “bird,” it unlocks the camera shutter to record a high-definition video, adds a metadata tag with the predicted species name, and logs the visit to an analytics database. However, if the neural network returns a high confidence score for “squirrel” or “rodent,” the Raspberry Pi can trigger a mechanical relay. This relay can briefly activate a small 5V water misting pump or emit a localized, low-frequency acoustic buzz. This gently deters the pest without harming the animal or interrupting the local bird population.
Setting Up a Smart Bird Box: Up Close and Personal with Nesting Families
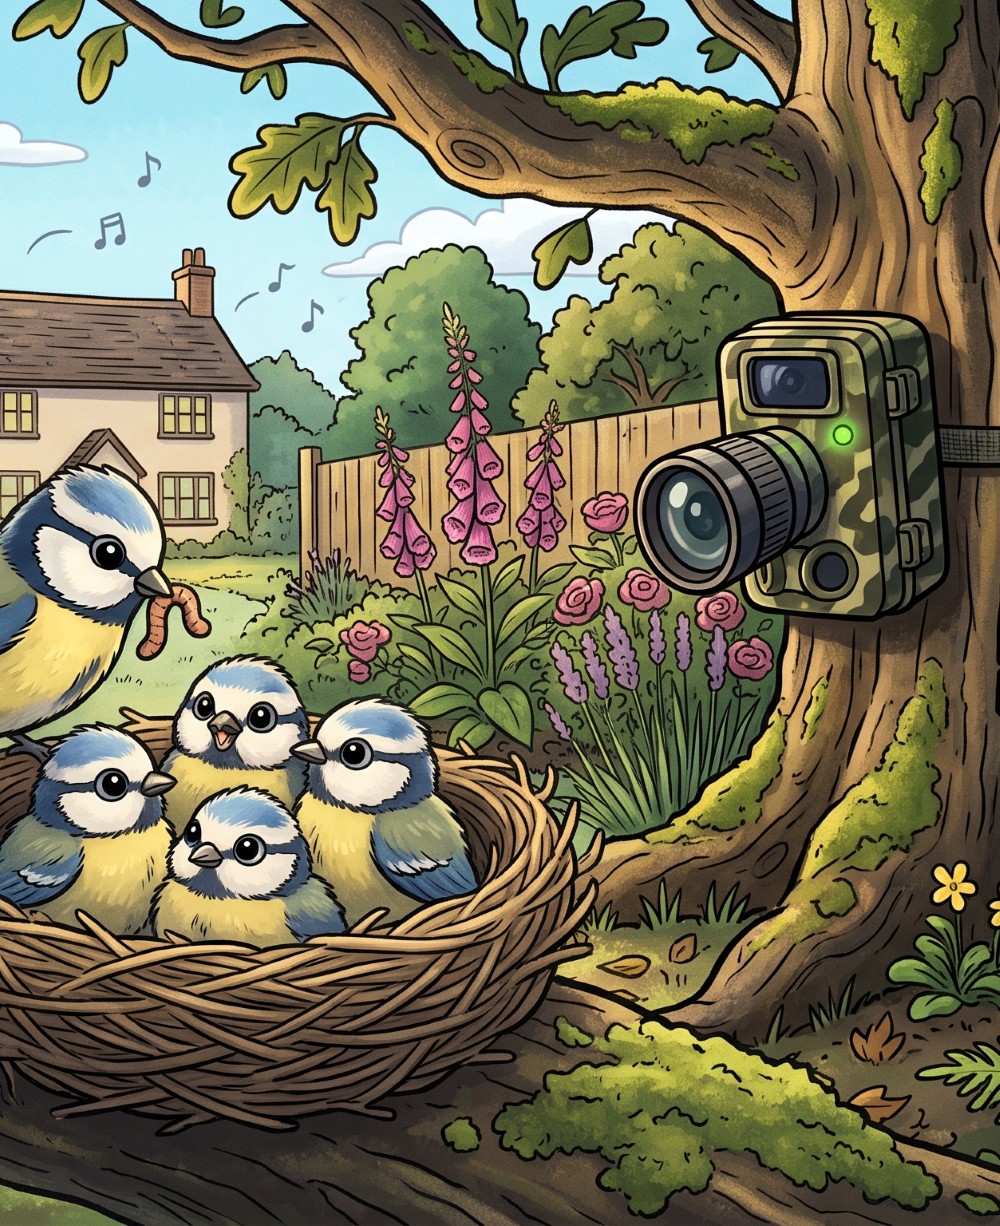
There is nothing quite as magical as watching a pair of birds build a nest, lay eggs, and raise a clutch of chicks. A Smart Bird Box allows you to witness this fragile process intimately without ever causing distress to the avian family.
Building a smart bird box requires integrating a miniature camera module directly into the internal roof apex of a weatherproof nesting box. A wide-angle lens or a fish-eye spy camera lens is ideal here, as it ensures the entire nesting bowl remains in frame despite the incredibly short focal distance.
Crucially, standard white light will blind and terrify nesting birds. To illuminate the dark interior of the box, you must wire low-power infrared LEDs into the circuit. Birds lack the photoreceptors required to perceive infrared light waves, meaning the interior remains completely dark to them while appearing bright and clear on your Raspberry Pi’s video feed.
A flexible camera ribbon cable or an outdoor-shielded USB cable can carry the video signal safely out of the box to a weather-sealed enclosure housing the Raspberry Pi nearby, allowing you to stream the live hatching process straight to your living room television.
Creating a Pollinator & Insect Tracker to Measure Backyard Biodiversity
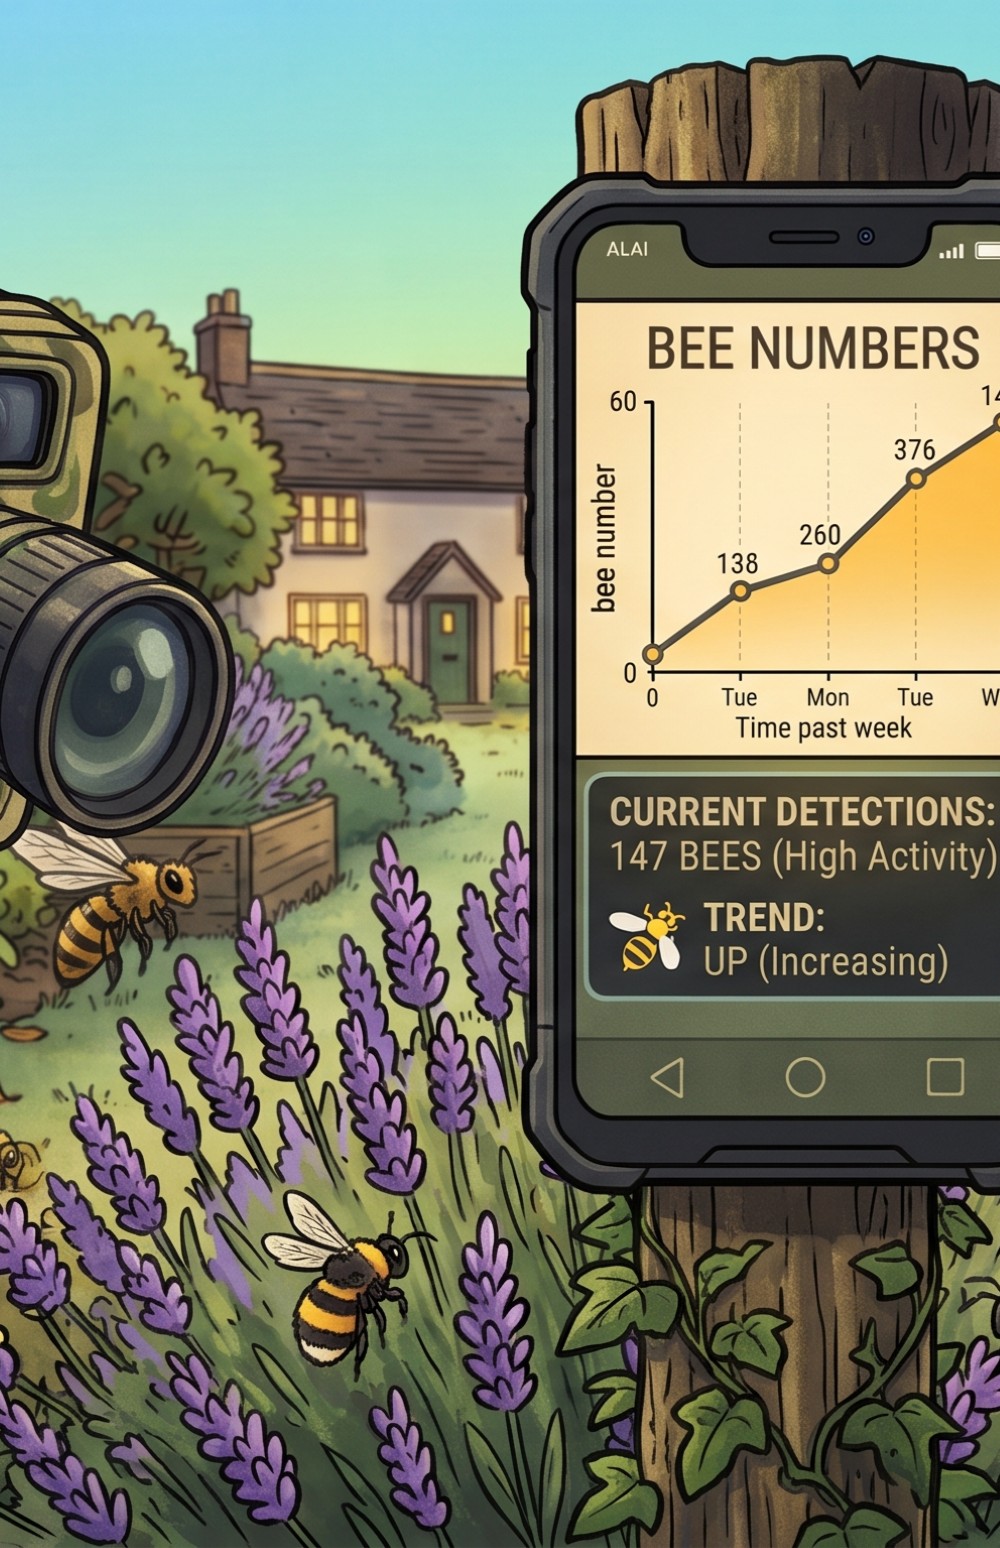
Insects are the unsung heroes of our gardens, serving as the literal foundation of the local food web. Tracking tiny, fast-moving pollinators like wild bees, hoverflies, and butterflies requires a specialized approach to digital photography.
To track daytime pollinators, you can configure your Raspberry Pi camera to run an aggressive Time-Lapse Macro Cam script. By positioning the camera on a sturdy tripod merely inches away from a high-yield pollinator plant (such as Lavender, Echinacea, or Buddleja) and utilizing an adjustable manual-focus macro lens, you can program the Pi to snap an image every 3 to 5 seconds during peak daylight hours. When stitched together, these high-resolution frames reveal macro-level details of insect behaviour, pollen collection rates, and exact species distributions that are impossible to catch with the naked eye.
For nocturnal insect tracking, the Raspberry Pi can be paired with a safe, non-harmful Moth Trap. By mounting an ultraviolet (UV) actinic light strip inside or over a white collection funnel, you can lure local moths. A downward-facing Pi camera captures structural images of each resting insect against a high-contrast white background before they naturally disperse at dawn, creating a hands-off inventory of your area’s nocturnal biodiversity.
Building a Mammal Footprint Tunnel & Night-Vision Tracker for Nocturnal Visitors
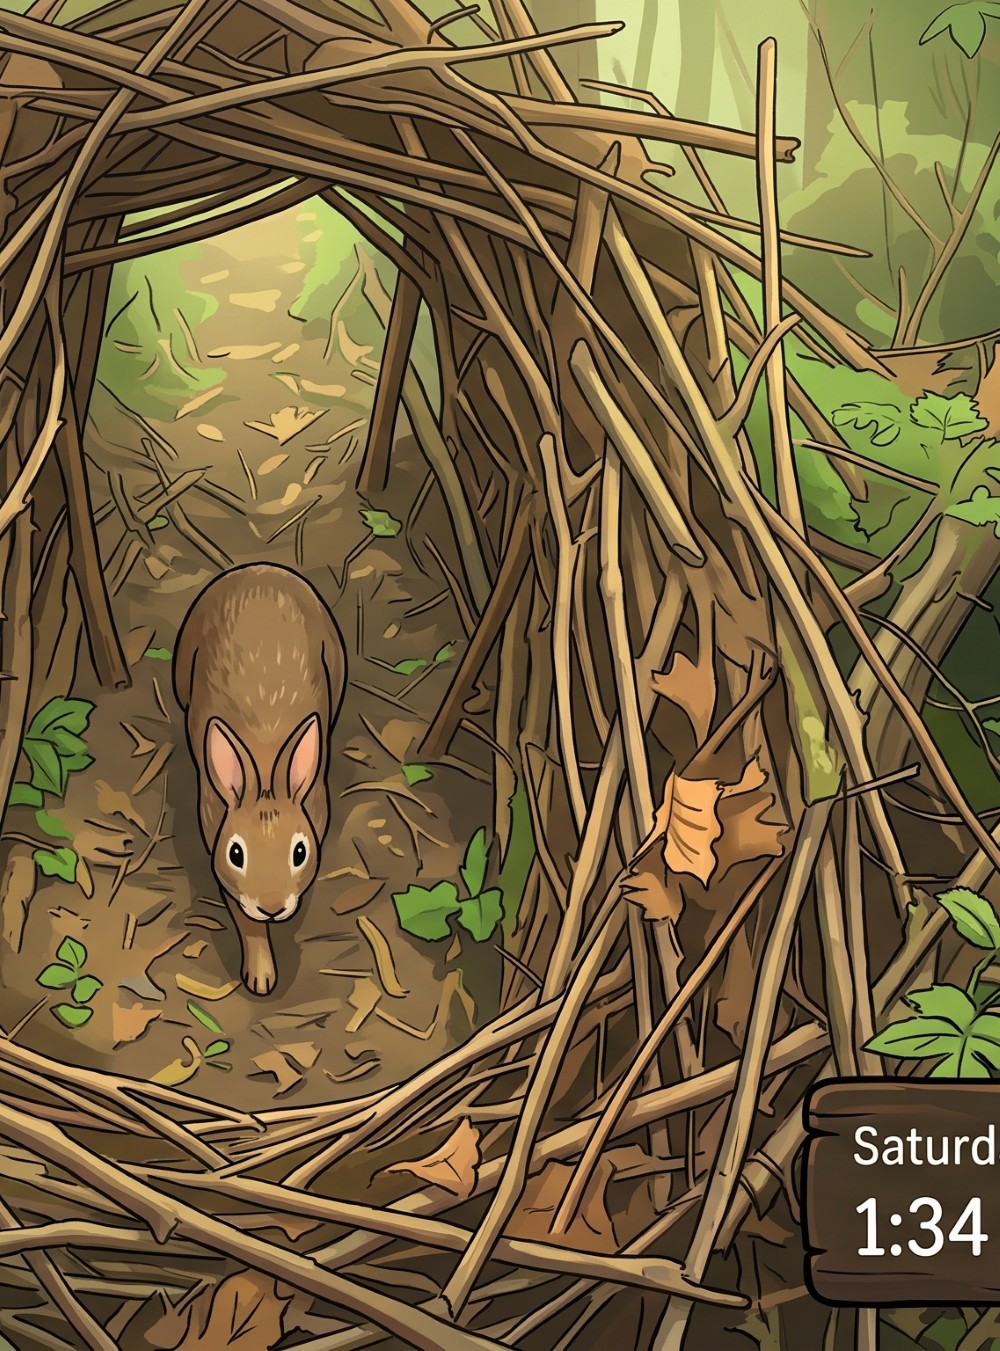
Elusive mammals like hedgehogs, shrews, field mice, and weasels often travel along garden boundaries, completely unnoticed. Traditional wildlife biologists track these creatures using tracking tunnels lined with ink pads and paper. The Raspberry Pi updates this concept for the twenty-first century.
By constructing a simple, triangular wooden or plastic tunnel along a fence line or hedge, you create a natural corridor that curious small mammals will naturally choose to explore. Instead of messy ink, mount a Raspberry Pi NoIR camera and a low-intensity infrared array to the ceiling of the tunnel, pointed downward at a baited center zone.
Because the physical environment inside a tunnel is tightly controlled, you can set highly sensitive motion-detection parameters without worrying about wind, shadows, or rain triggering false recordings. Every creature that passes through the tunnel leaves behind a crystal-clear, high-frame-rate night-vision video asset. This setup allows you to analyze gait, health, and feeding habits of secretive ground-dwelling species with absolute clarity.
Deploying an Underwater Pond Monitor to Study Subsurface Aquatic Life
If your garden features a freshwater pond, you are hosting a hidden world of amphibians, predatory water beetles, larvae, and micro-organisms. Monitoring this environment requires specialized marine considerations.
Subsurface Video Submersibles
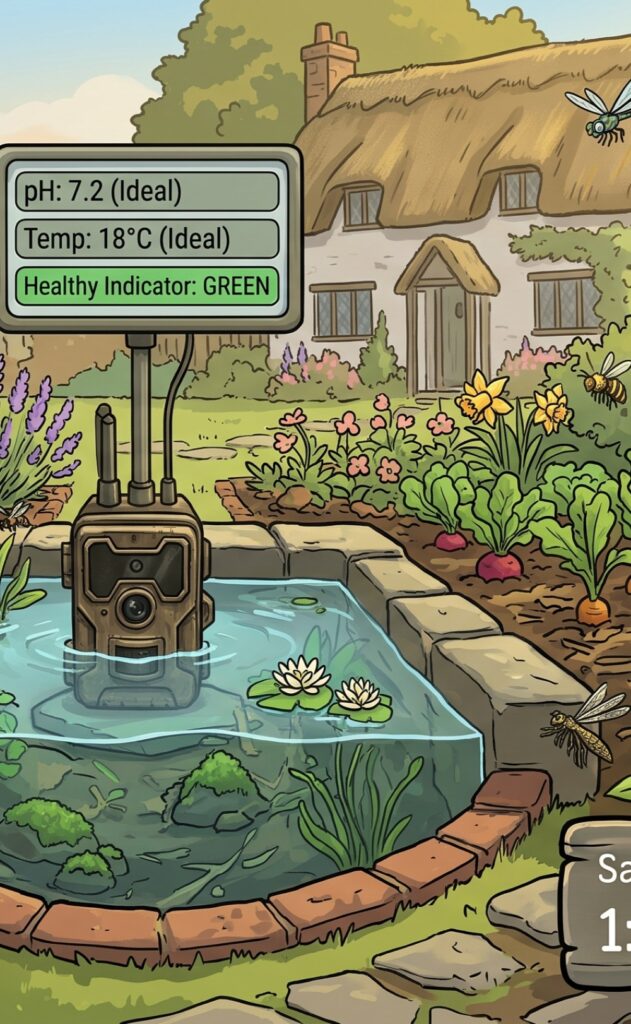
To capture video footage underwater, you have two primary choices: deploy an industrial USB endoscope camera with an IP67 waterproof rating directly into the water column, or construct a custom plexiglass underwater housing for a standard Raspberry Pi camera module. Positioned near a submerged rock shelf or aquatic plants, an underwater camera reveals the fascinating, hidden behaviors of spawning frogs, newts, and dragonfly nymphs.
Automated Water Quality Telemetry
Beyond video, a Raspberry Pi can monitor the literal life-support systems of your pond. By interfacing the Pi’s GPIO pins with analog-to-digital converters (ADCs), you can attach industrial-grade telemetry probes. This enables your Pi to log vital environmental metrics directly into an ongoing database, tracking variables such as:
Dissolved Oxygen (DO): Ensuring the pond remains habitable for fish and beneficial bacteria during hot summer stagnation periods.
Water Temperature: Crucial for tracking oxygen dissolution levels and predicting amphibian hibernation cycles.
pH Levels: Monitoring for sudden spikes in acidity caused by acid rain or local runoff.
Operating a Garden Environment & Weather Station for Microclimate Analytics
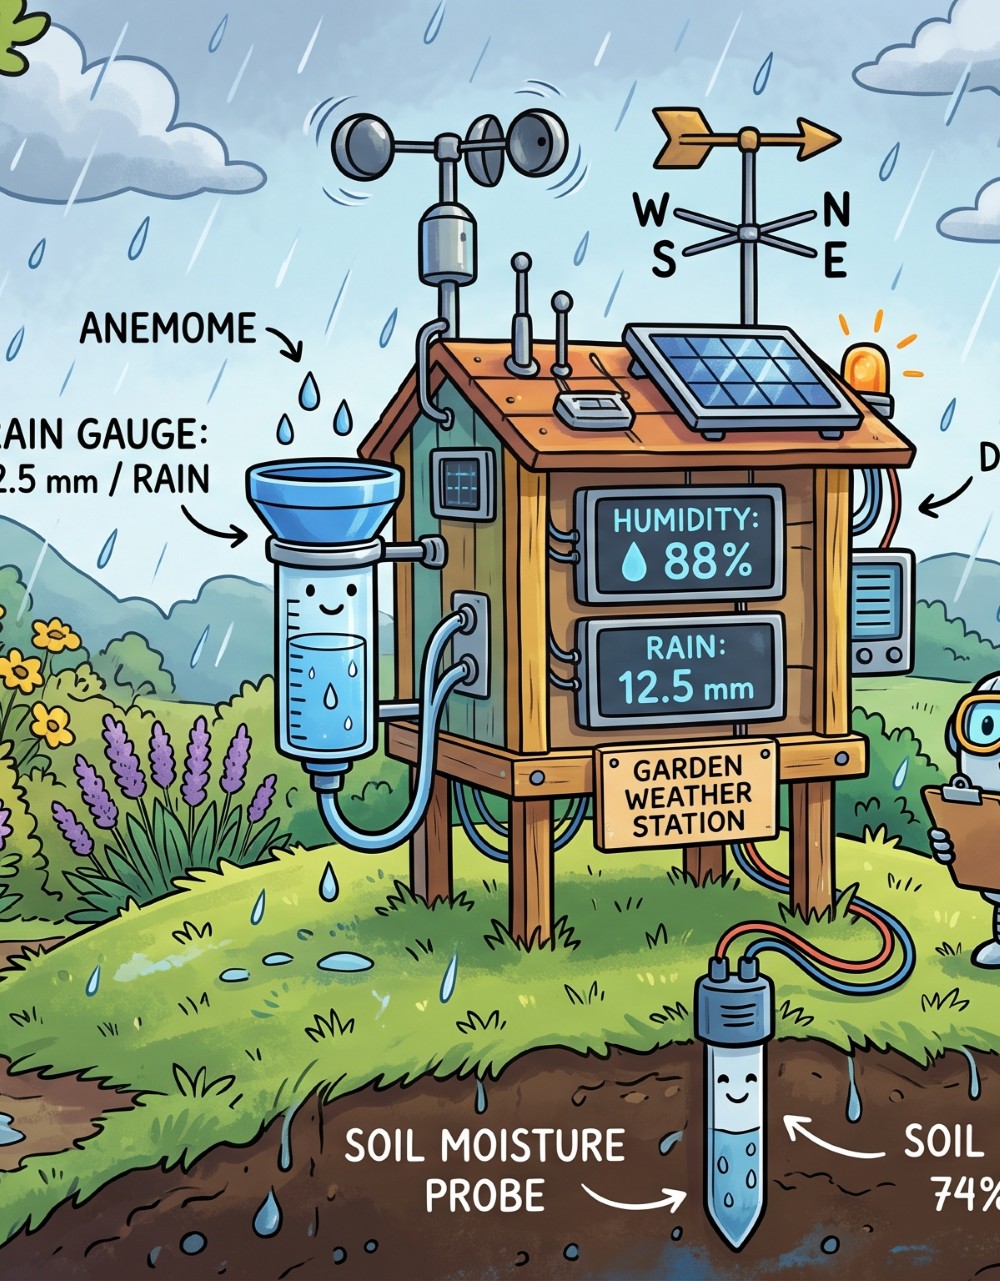
Wildlife activity does not happen in a vacuum; it is intimately linked to barometric pressure, ambient temperature, humidity, and rainfall. Building a comprehensive Garden Environment & Weather Station ties your biological data directly to environmental realities.
By building a specialized sensor array, you can collect microclimate data tailored specifically to your yard’s unique geography. Useful sensors include the DHT22 or BME280 for measuring ambient temperature, humidity, and pressure, alongside dedicated tipping-bucket rain gauges and anemometers for wind velocity. Crucially, you can also run analog Soil Moisture Probes directly into critical flowerbeds or wild zones.
To make sense of this tidal wave of data, the Raspberry Pi can run a localized instance of InfluxDB (a time-series database optimized for sensor logs) combined with Grafana. Grafana transforms raw numbers into stunning, interactive, live-updating dashboards accessible from any web browser.
Suddenly, your wildlife observations gain scientific context: you can visually map how a drop in barometric pressure correlates with an influx of birds at your smart feeder, or how soil moisture levels impact the emergence of nocturnal earthworms and the hedgehogs that hunt them.
Technical Appendix: Choosing the Right Raspberry Pi Hardware
This quick-glance breakdown pairs specific nature monitoring projects with the ideal Raspberry Pi model and power strategy to ensure maximum stability out in the field.
Acoustic Bird/Bat ID
Recommended Raspberry Pi Model: Raspberry Pi 4 (2GB or 4GB)
Key Hardware Sensor / Component – USB Omnidirectional Microphone / MEMS Capsule
Recommended Power Strategy – Power over Ethernet (PoE)
AI Smart Feeder
Recommended Raspberry Pi Model: Raspberry Pi 5 (4GB or 8GB)
Key Hardware Sensor / Component – Raspberry Pi Camera Module 3 + Coral AI
Recommended Power Strategy – Mains Power via 5V 5A USB-C
Pollinator Tracker
Recommended Raspberry Pi Model: Raspberry Pi Zero 2 W
Key Hardware Sensor / Component – Macro Lens + Pi Camera v2
Recommended Power Strategy – Solar Panel + 12V LiFePO4 Battery Pack
Underwater Pond Monitor
Recommended Raspberry Pi Model: Raspberry Pi 4 (2GB)
Recommended Raspberry Pi Model: Raspberry Pi 4 (2GB)
Key Hardware Sensor / Component – IP67 USB Endoscope + DS18B20 Temp Probe
Recommended Power Strategy – Outdoor-rated extension cable
Mammal Tracking Tunnel
Recommended Raspberry Pi Model: Raspberry Pi Zero 2 W
Key Hardware Sensor / Component – Pi NoIR Camera Module + 940nm IR Array
Recommended Power Strategy – High-capacity rechargeable Power Bank
Smart Bird Box
Recommended Raspberry Pi Model: Raspberry Pi 3A+ or Zero 2 W
Key Hardware Sensor / Component – Wide-Angle NoIR Camera Ribbon Setup
Recommended Power Strategy – 5V Power over Ethernet Splitter
Garden Weather Station
Recommended Raspberry Pi Model: Raspberry Pi Zero W or Zero 2 W
Key Hardware Sensor / Component – BME280 Sensor + Analog Soil Probes
Recommended Power Strategy – Low-draw Solar Battery System
A Raspberry Pi must be kept completely dry and free from condensation. The most effective method is to house the computer inside an IP66 or IP67-rated electrical junction box. Cable entry points should be sealed using watertight compression cable glands. To manage temperature fluctuations and prevent moisture buildup inside the sealed box, include a few packs of rechargeable silica gel desiccant beads inside the enclosure.
For projects involving heavy computational processing—such as real-time AI object detection on the smart bird feeder or audio processing via BirdNET Pi—the Raspberry Pi 4 or Raspberry Pi 5 is highly recommended. For compact, low-power applications where space is limited, such as inside a bird box or mammal tracking tunnel, the Raspberry Pi Zero 2 W provides an ideal balance of a tiny footprint and quad-core processing power.
Yes, but you must calculate your power budget carefully. A typical Raspberry Pi Zero 2 W setup drawing around 1 to 1.5 Watts requires a 20W to 30W solar panel paired with a robust 12V LiFePO4 battery bank and a solar charge controller to ensure continuous operations through long winter nights and consecutive overcast days. For hungrier Pi 4 or Pi 5 setups, running a physical Power over Ethernet (PoE) cable or an outdoor mains line is generally more reliable.
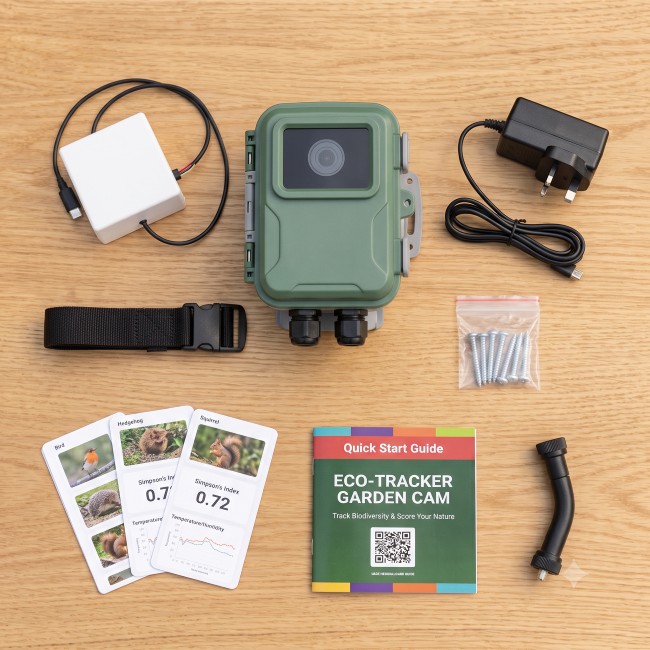
Get A Nature Score with Will’s Wild Lab Nature Cam
Fully Set up, fully configured. All you need to do it plug it in.