
My Pond Diary
See how my product idea developed from idea to reality.


My 1st Pond
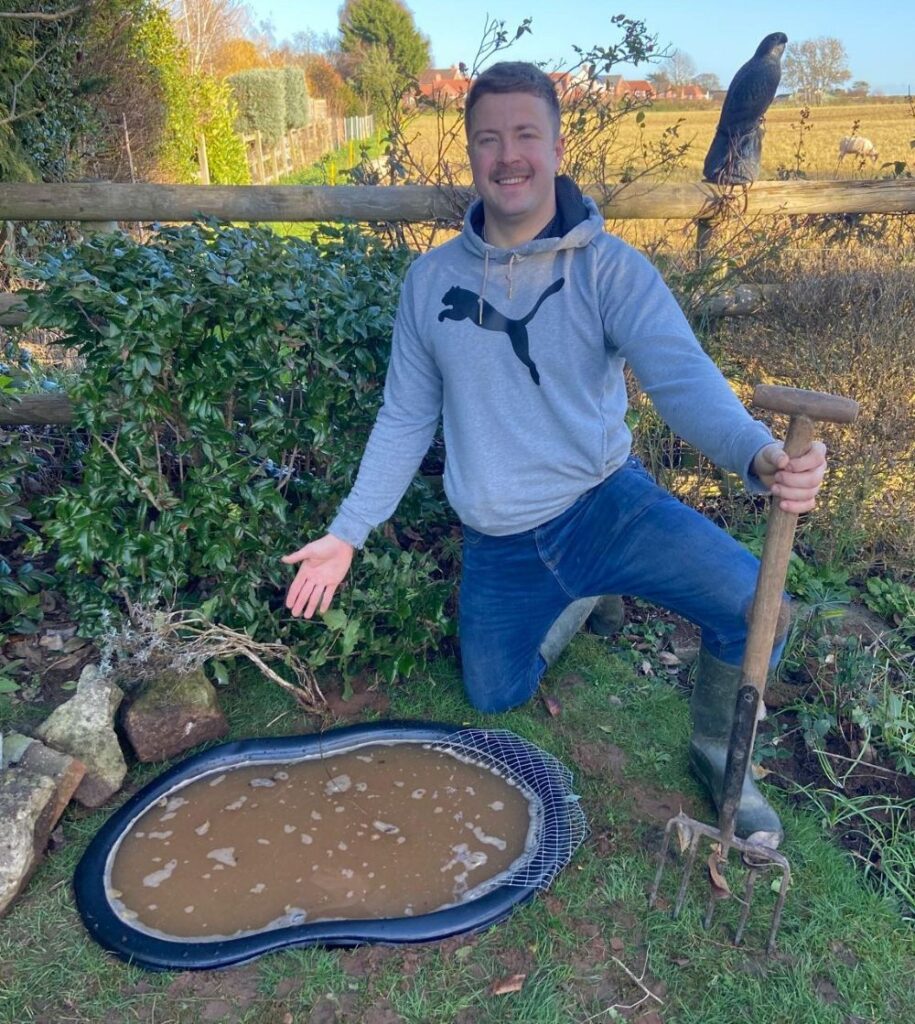
I asked my grandma if I could build a pond in her garden to give her a new point of interest and, hopefully, invite a bit more wildlife into her favorite space. However, the first attempt was a massive learning curve. The site was completely exposed to the sun, and without any natural cover, wildlife was too exposed to make the journey. Despite the rain, water levels rapidly dropped, leaving behind nothing but a few microorganisms. I also realized that the steep, smooth sides of the plastic pre-formed liner made it impossible for plants to take root and created a dangerous hazard where creatures could easily become trapped. Realizing these flaws, I went back to the drawing board to build a second, much safer pond.
My 2nd Pond
For my second attempt, I moved over to my allotment in Shottery using a flexible pond liner. I cut a larger sheet down to a 1-square-meter piece, but I quickly hit a snag. To prevent the water from freezing over in the winter, the pond needed a depth of 60cm—meaning my downsized liner was far too small. I had also dug the borders much too steeply; while it made the pond deep, it shrunk the overall surface area. The basic foundation was there, but the liner just couldn’t stretch to fit. Time to take these lessons and build pond number three!
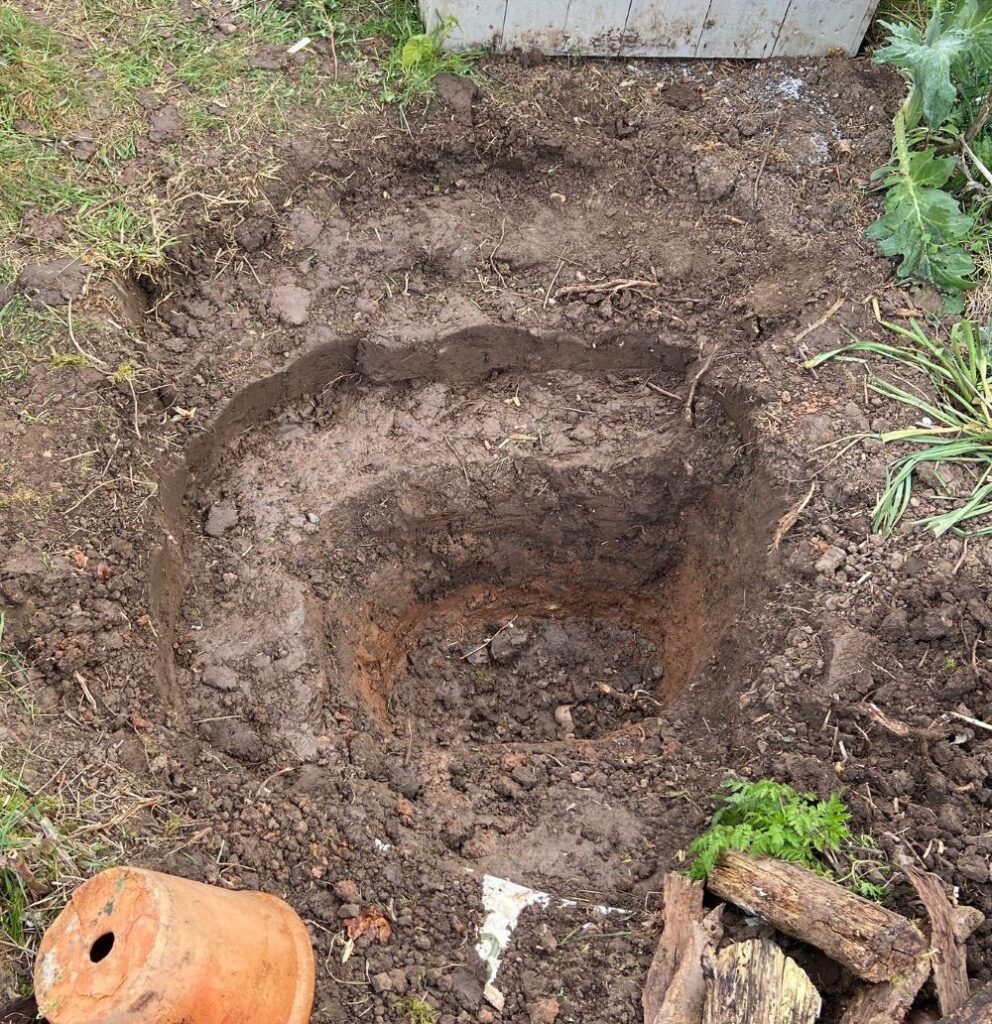
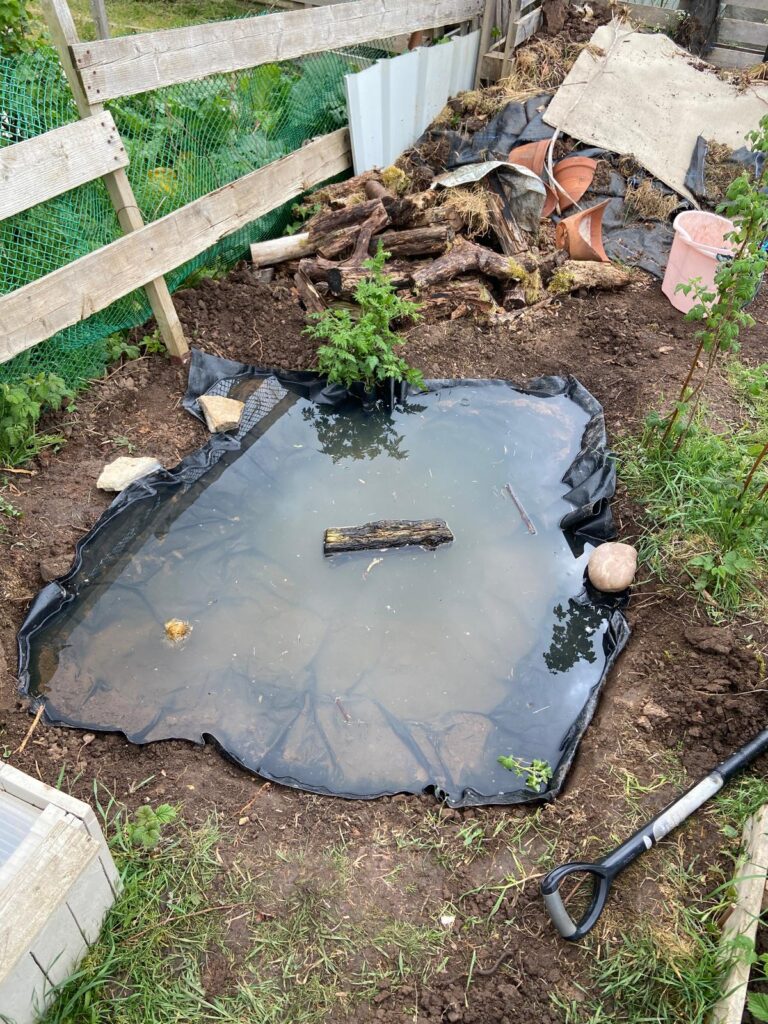
My 3rd Pond
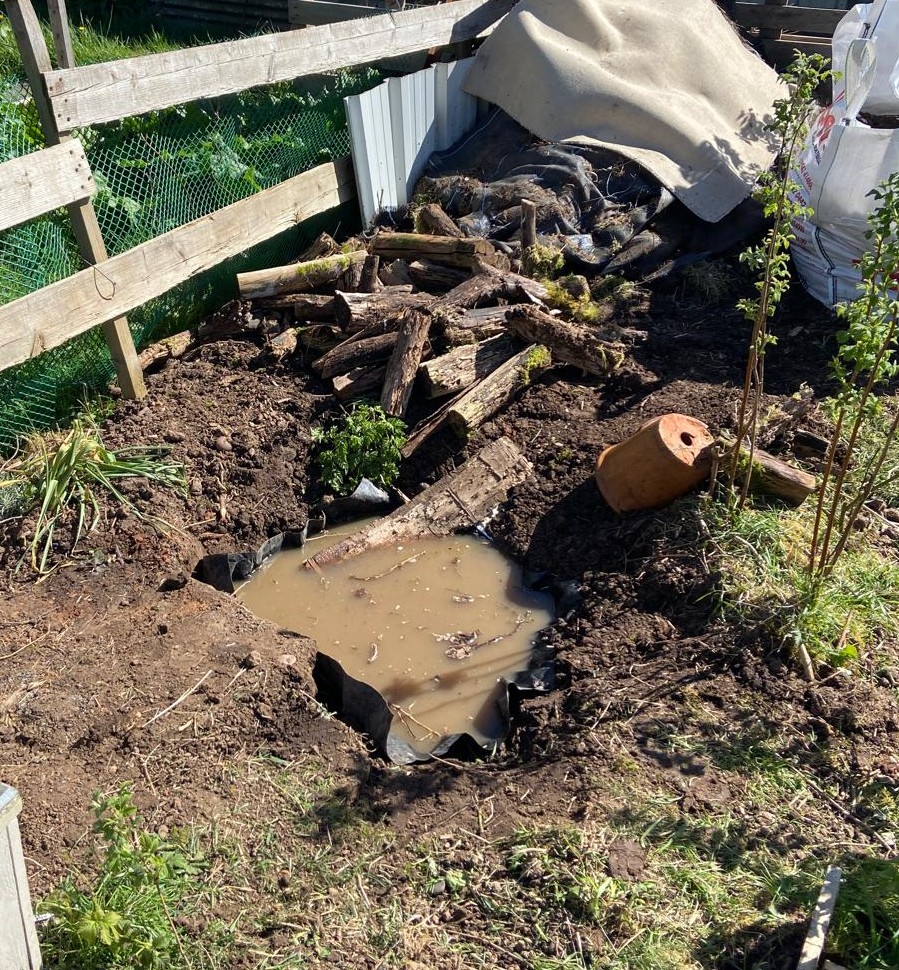
For my third attempt, I adapted the second pond by smoothing out the banks into much gentler slopes. While this successfully made the pond both larger and deeper, the existing liner was still too small to cover the new area. Realizing I needed a proper upgrade to keep the water temperature consistent year-round, I sourced a much larger liner. I also reshaped the surrounding log pile to create a dedicated “wildlife corridor” connecting the compost heap directly to the water. This provides a safe, covered highway for creatures to visit for a drink, while allowing aquatic hunters a secure route to forage for slugs, ants, and beetles.
My 4th Pond
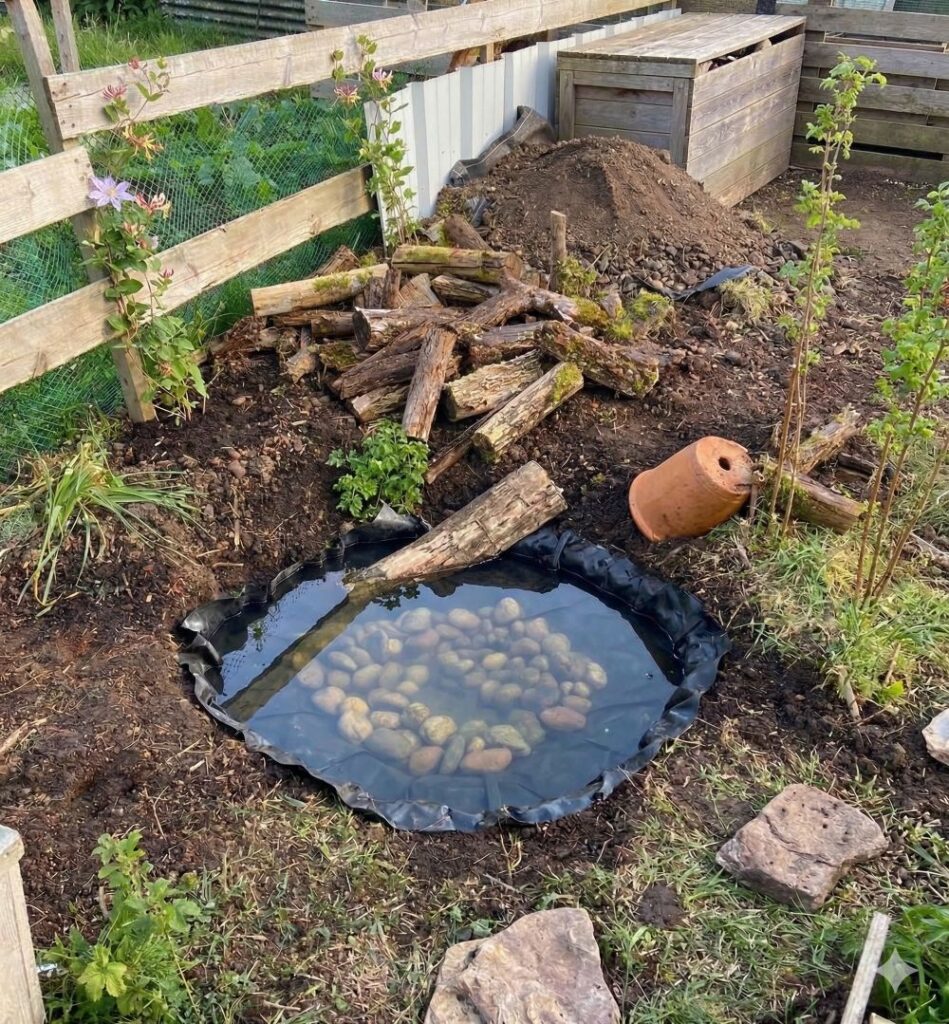
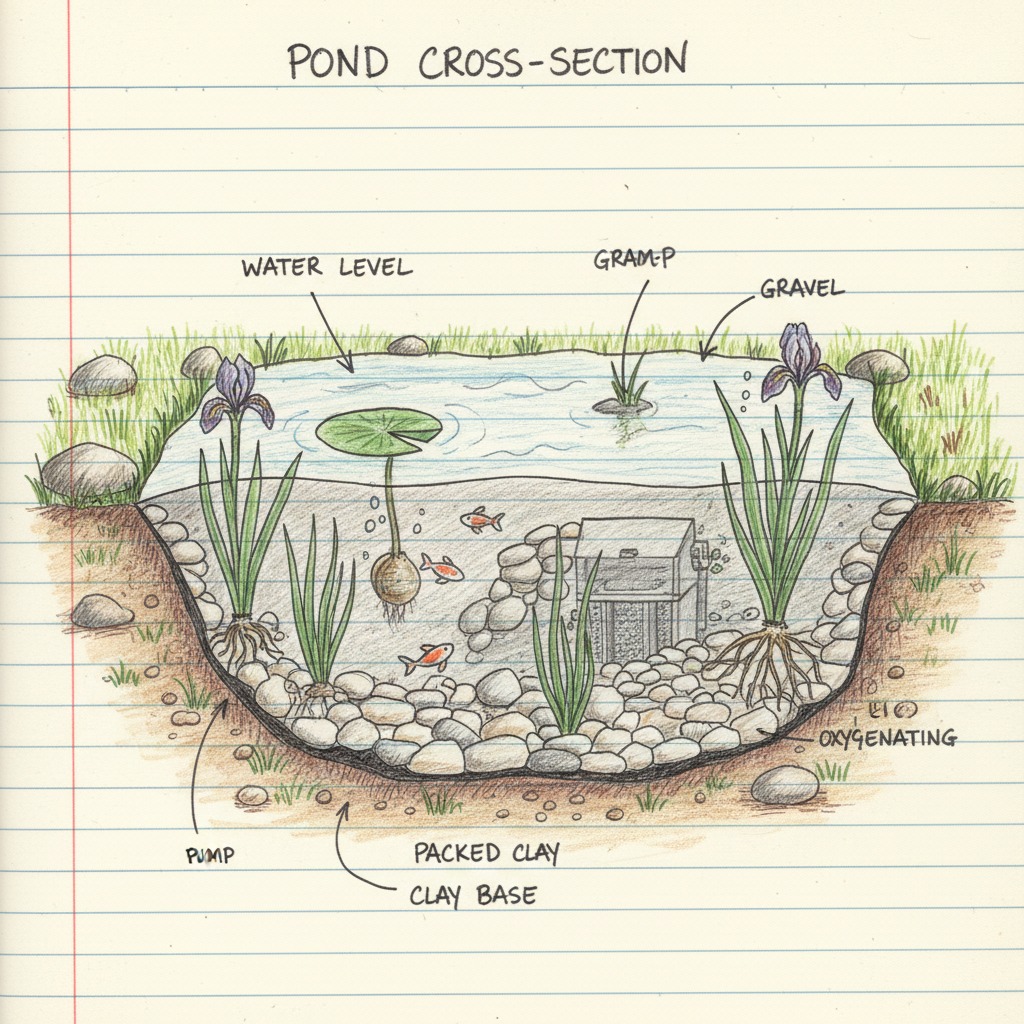
After a bit more tinkering, I finally achieved the exact look I was aiming for. I placed some rocks at the bottom of the pond to create secure hiding spots for small creatures. With the structure complete, my next step is to introduce some oxygenating plants to keep the water healthy!
Made some adjustments
My 5th Pond
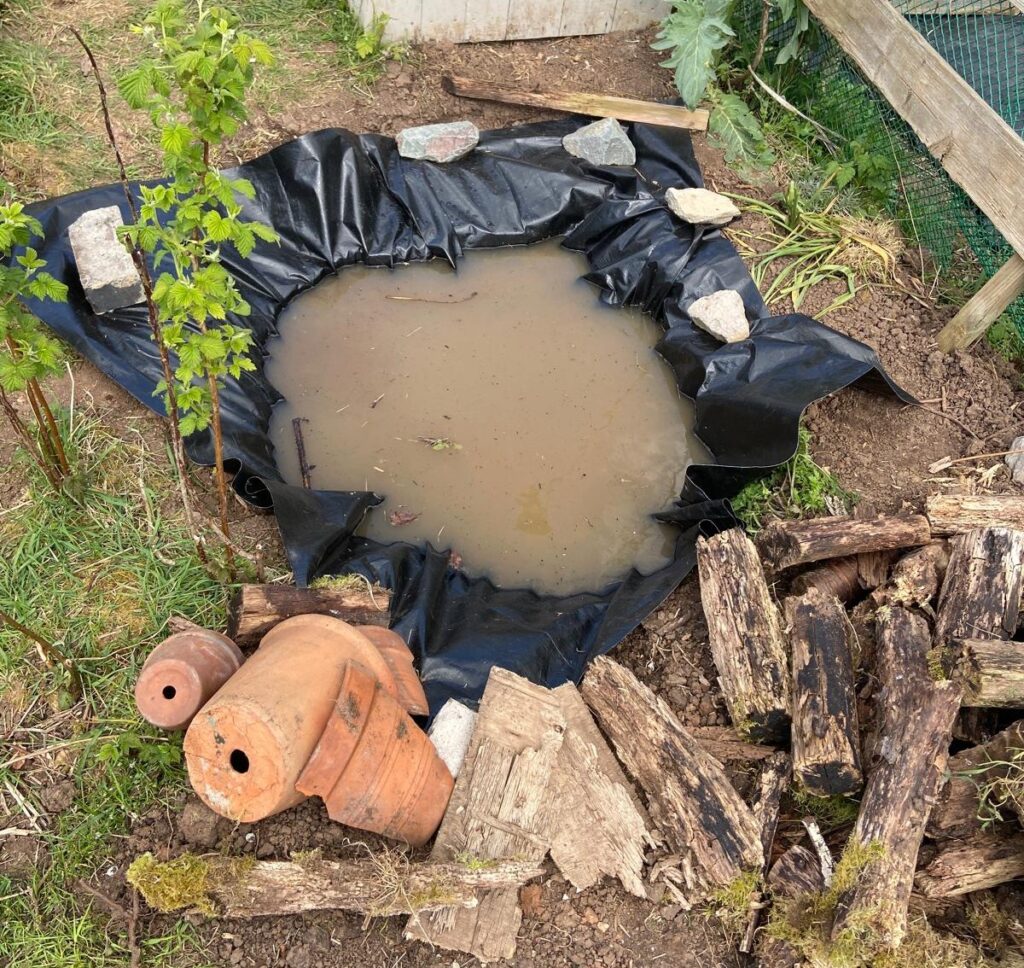
While my fourth attempt looked nice, it still lacked the size needed to truly thrive and attract wildlife. Refusing to give up, I decided to invest in a brand-new pond liner and give it another shot! You can see the result below. It looks like my next step will be to dig it out even further to finally get the scale I need.
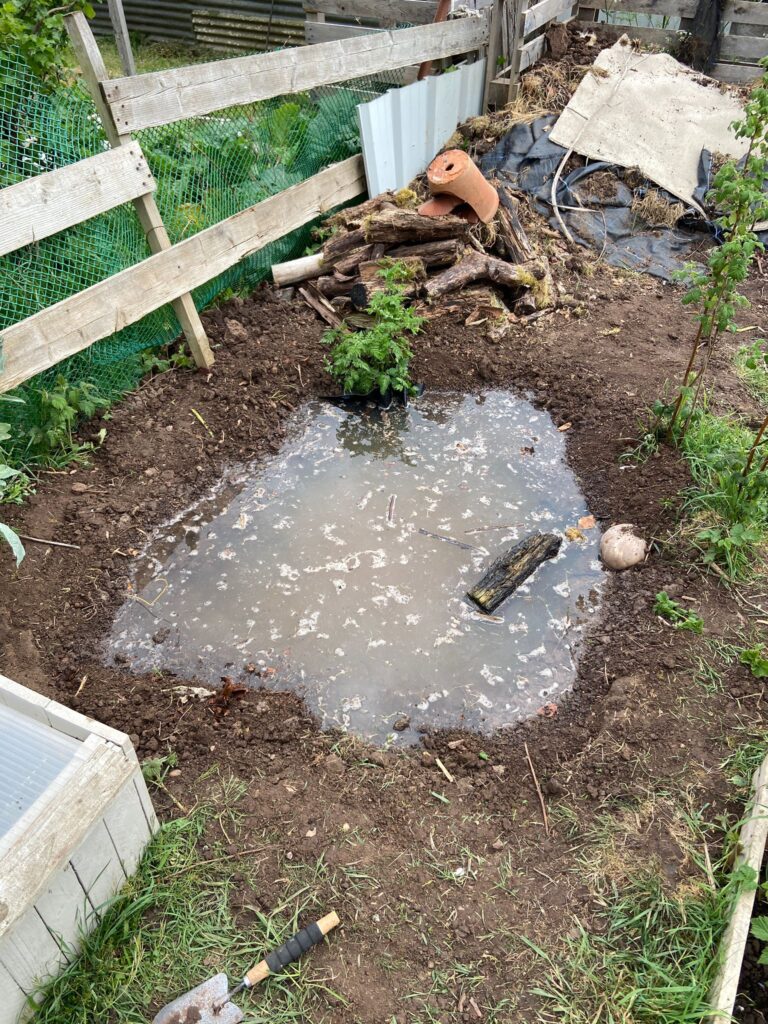
My 6th Pond
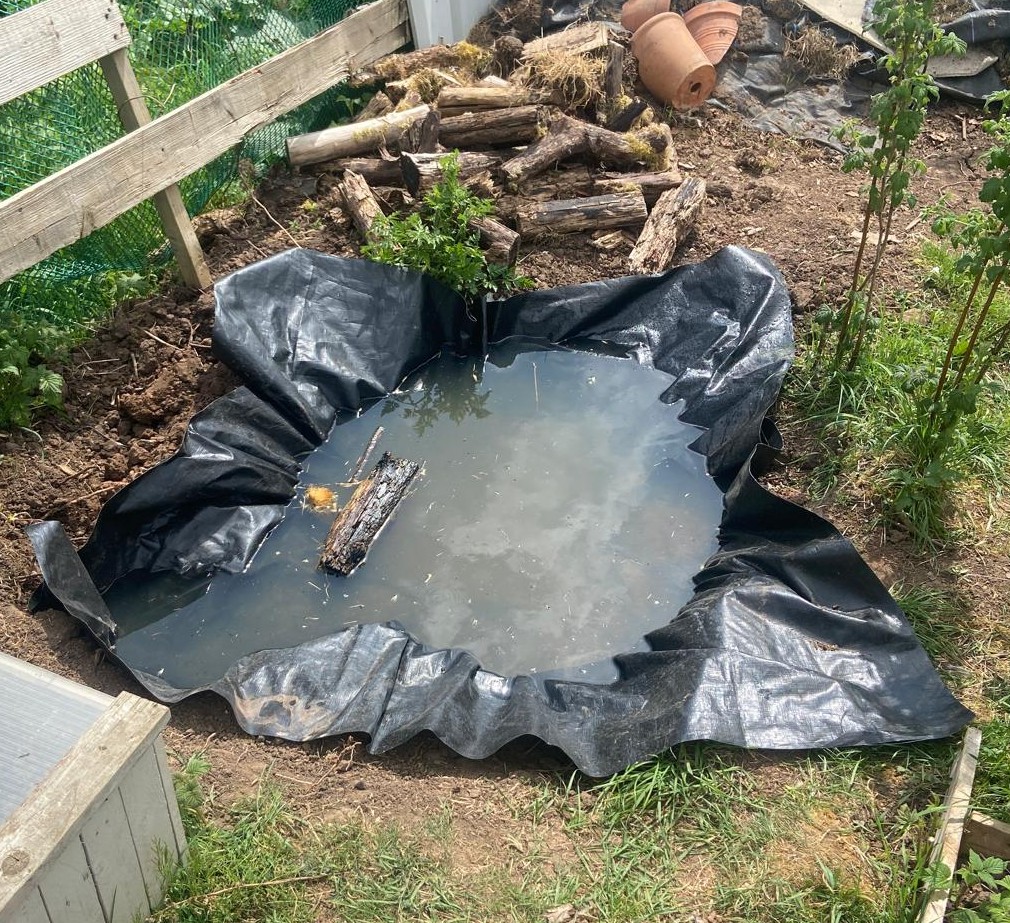
So, I pulled the liner back into the center of the pond and got to work excavating further around the edges…
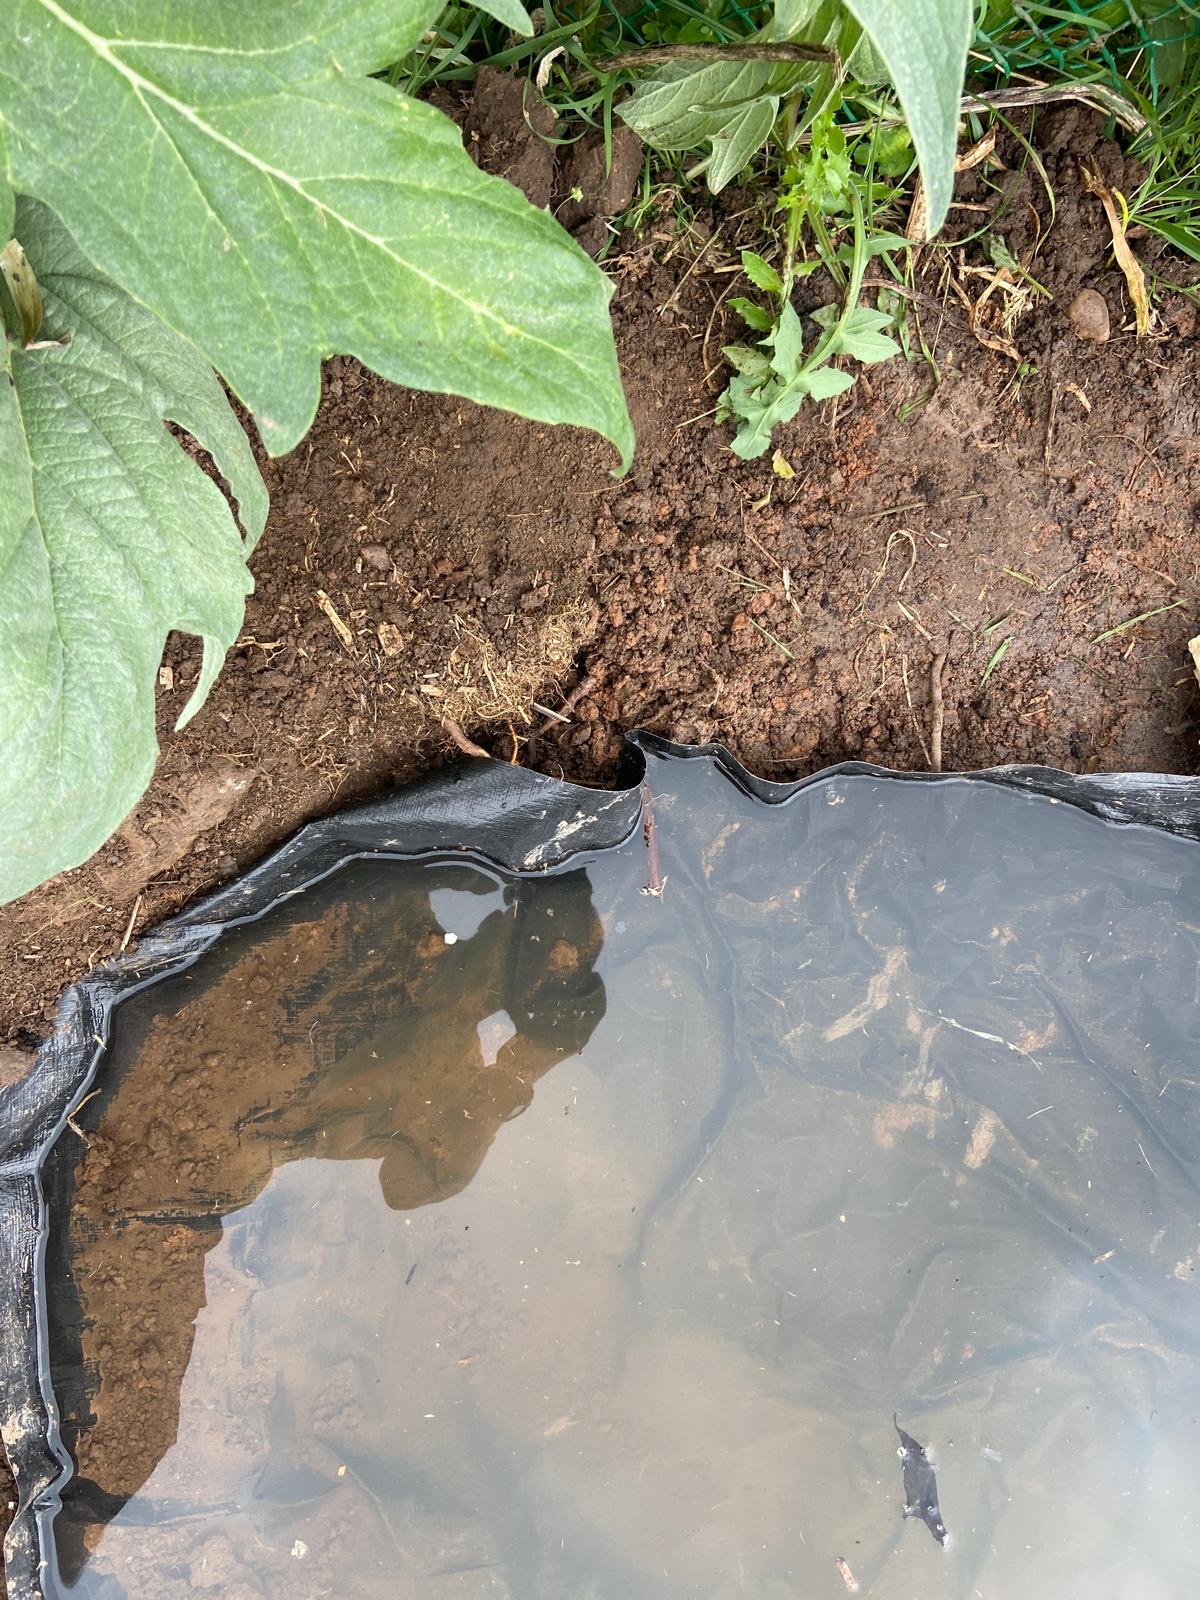
I looked for low spots
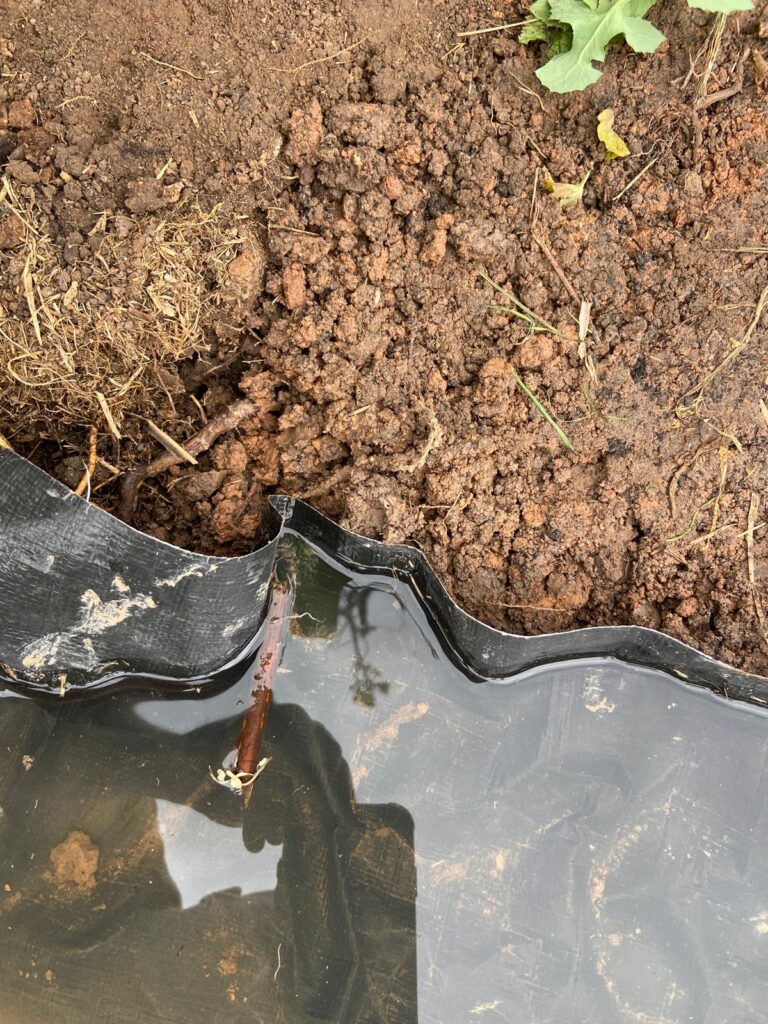
Use a supply of dirt
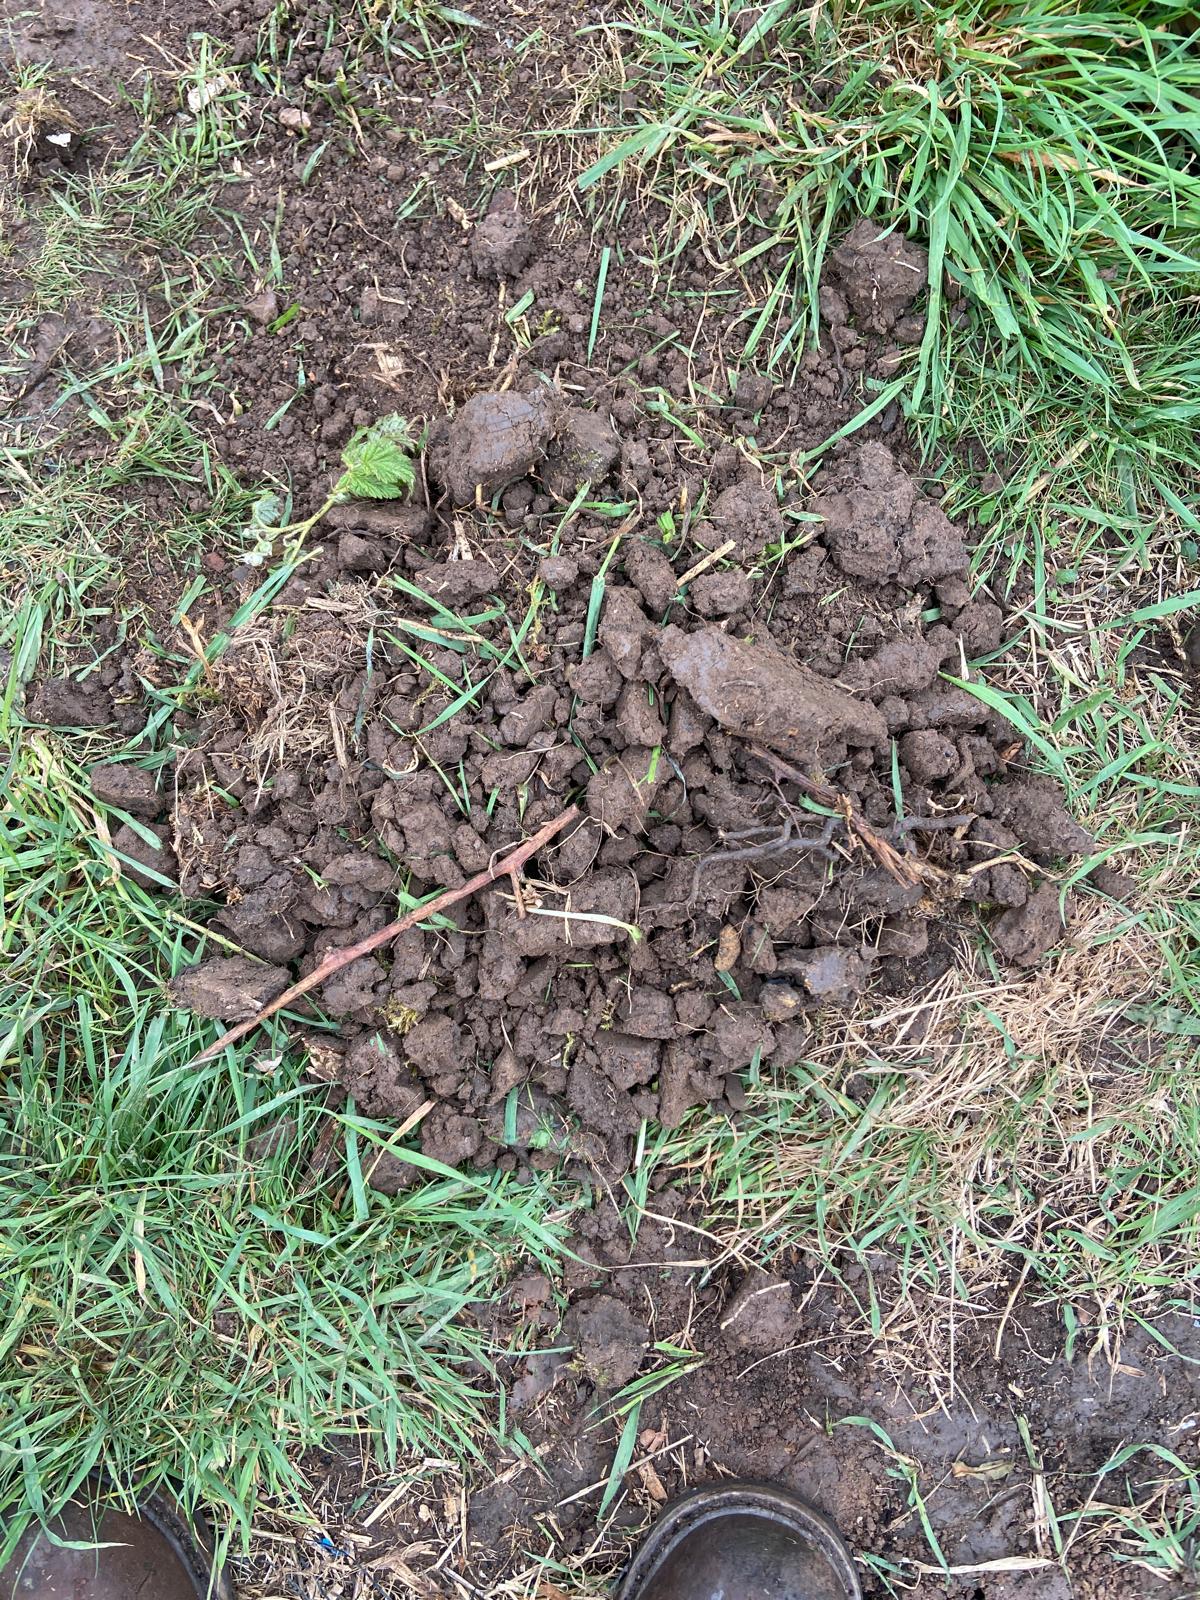
To maximize the catchment area of a pond while keeping the water level as high and stable as possible, you need to create a level, wide, and gently sloped perimeter using your excavated dirt.
When you have uneven ground or a slope, water will always escape from the lowest point, leaving a large portion of your pond liner exposed and reducing the overall volume. By using your supply of dirt to build up the low edges and graded slopes, you can ensure the maximum amount of water is contained.
My 7th Pond
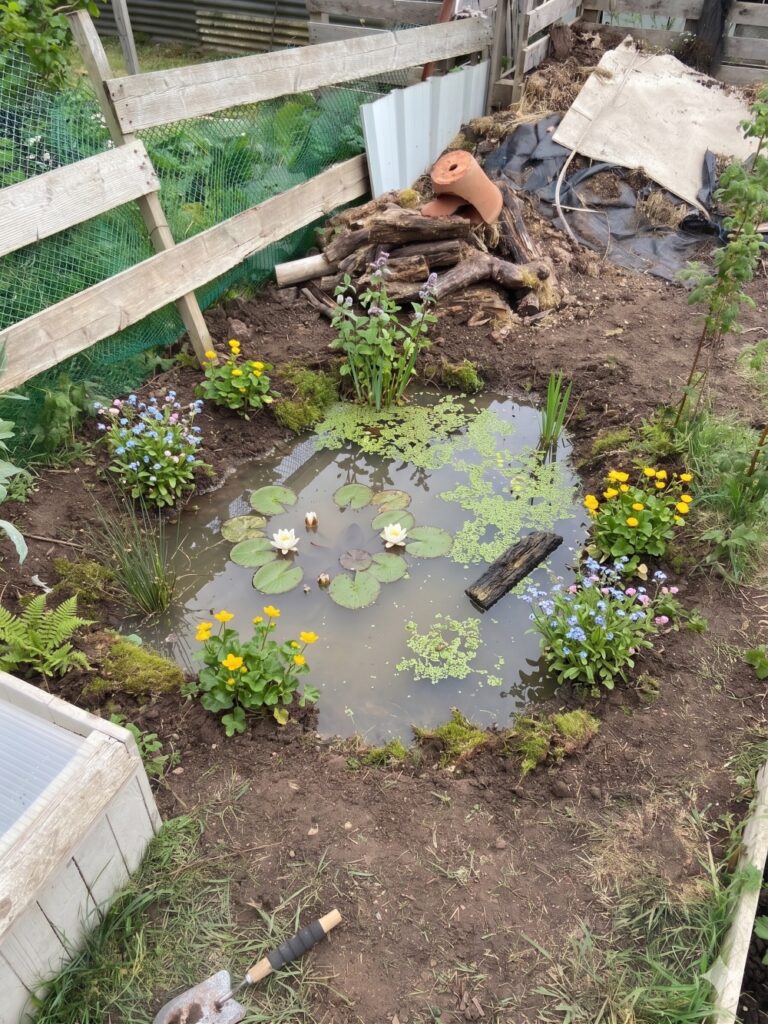
My Final Pond
To truly transform a small pond into a thriving wildlife sanctuary, adding native UK pond plants is the vital final touch. Introducing a mix of submerged oxygenators like hornwort, alongside marginals such as marsh marigold and forget-me-nots, creates an instant home appeal for nature. These plants do more than just complete the aesthetic; they naturally filter the water, suppress algae, and provide crucial shade. Above all, they offer immediate shelter for tadpoles, safe perches for dragonflies, and easy escape routes for visiting frogs and newts, turning a simple garden feature into a bustling, beautifully balanced ecosystem.
Leave a Reply